Pre-Pasted Traditional Wallpaper Installation Guide
Before installing your pre-pasted traditional wallpaper, please ensure your walls have been prepared according to our wall preparation guidelines here.
All of our traditional wallpapers are automatically printed with butt joins. There are no overlapping joins.
YOUR TOOLS
- Stanley knife or wallpaper cutter
- plastic or rubber applicator/smoother
- Squeegee, paint roller or sponge
- Drop cloth
- bath tub or large bucket of clean water
- a long ruler, a level or tape measure
- step stool or step ladder
STEP 1 - CHECK YOUR PRODUCT
- Check the order/sequence of your rolls of wallpaper
- Check that all rolls are undamaged & free from misprints
- Check that all the colors/patterns match roll to roll & edge to edge
- Check you have sufficient rolls to complete the job, allowing for design repeat
STEP 2 - START HANGING
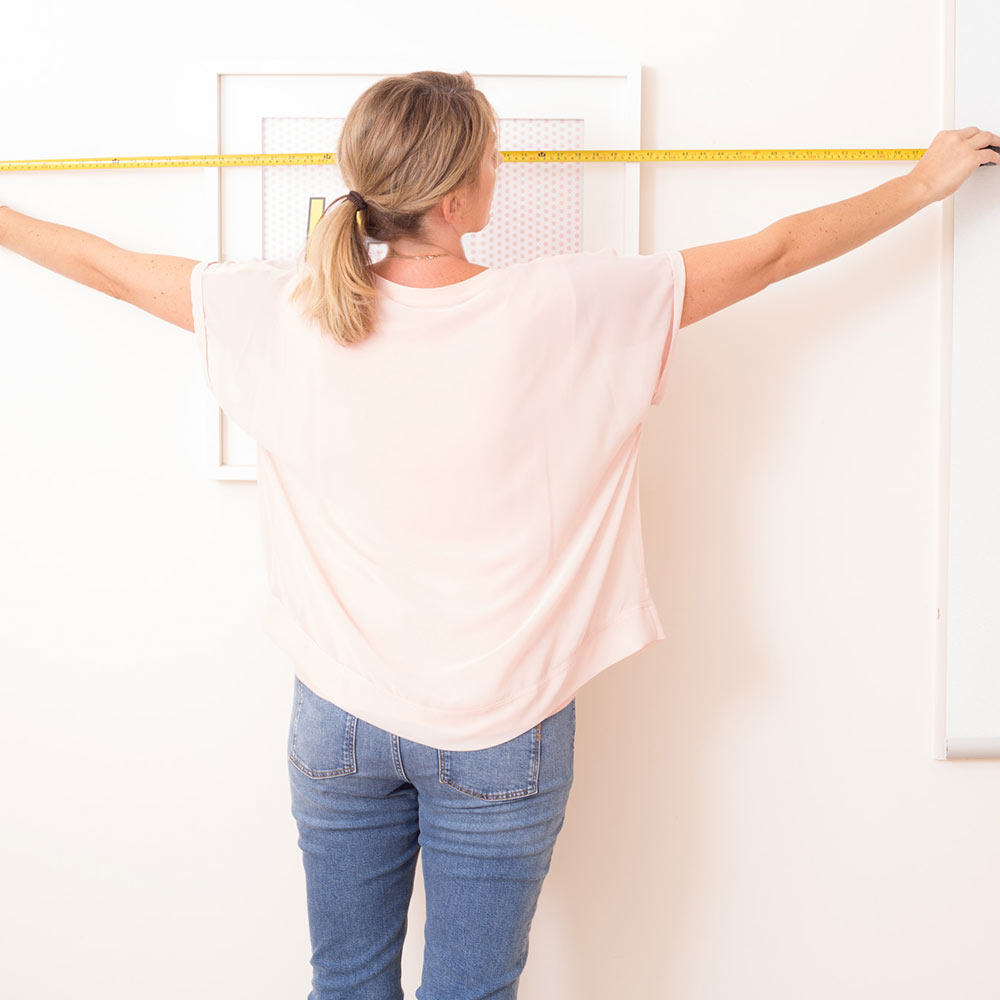
- Draw a straight vertical line using your ruler or level, 50cm from the left hand side of your wall. This is a guide for your first length/strip, so it's important for it to be straight. It’s really important to get the position of the first panel correct as it will form the base of your wallpaper.
- Using a clean paint roller or sponge, thoroughly wet the back of the paper, making sure not to leave any dry spots. Once it’s wet, gently fold the pasted side in on itself by folding the top and bottom of each piece to meet in the middle, taking care not to crease the paper (Figure A) -- this is called ‘booking.’. Set the paper aside for 3-5 minutes to rest and activate the adhesive.
- Apply the first sheet to the top of the wall, allowing a bit of excess to overlap the ceiling. Align the right side of the length/strip to your mark & press to the smooth, clean, dry wall. Working from top to bottom, pull the backing away as you evenly press the paper to the wall. Do not stretch the material. This can cause gaps between the seams overtime.
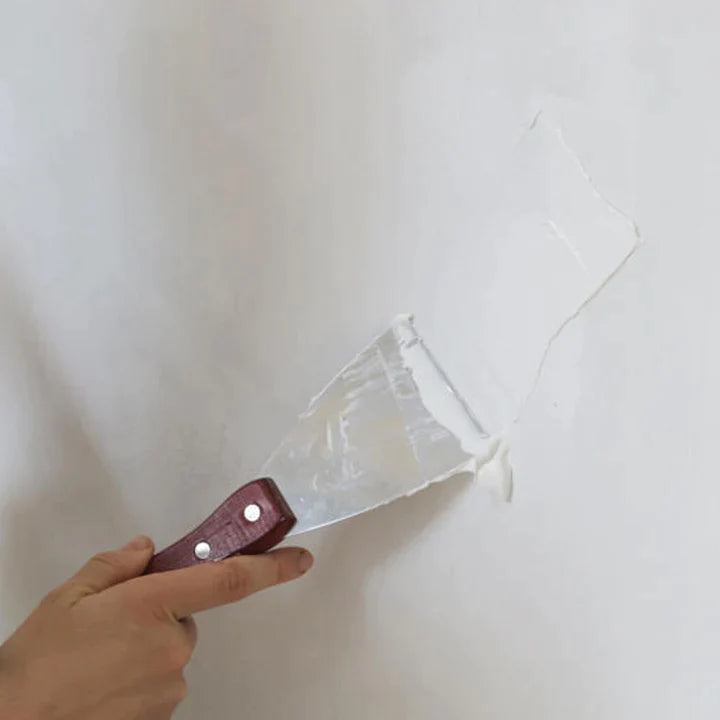
- Use a plastic smoother to push out any air bubbles from the centre outwards. Applying moderate pressure use the smoother over the full surface area of the product to ensure firm adhesion to the wall. If the bubbles are too big, gently lift off your wallpaper and re-apply. Alternatively puncture the bubbles with a straight, clean pin and re smooth. Complete this process until you reach the bottom of your wall. Don’t worry about the excess. Once your wall is complete you can cut this off using a sharp knife.
- Trim along the top & bottom of the length/strip using a straight edge & sharp utility knife. It's important to use the smoother to ensure adhesion.
STEP 3 - ADD MORE STRIPS
- Apply the next strip/length according to the instructions above, slightly overlapping & matching the pattern to the first strip/length. Ensure the panels line up at your line of sight. People tend to look at the middle of a wall, not towards the ceiling or the skirting board.
- LLLLL
STEP 4 - FINISHING UP
- Once your wallpaper is hung, use a sharp knife to trim the excess wallpaper from the bottom and the right hand side of your wall. Stories for Walls automatically prints with a 10cm buffer on both the width and height dimensions so depending on the squareness of your walls there may or may not be excess to cut away.
STEP 5 - REMOVING YOUR WALLPAPER
- Slowly pull edge from top corner directly downward. Stories
For Walls self adhesive materials are repositionable & always removable.