Installation Pros and Cons
Stories for Walls offers a great range of wallpapers that are perfect for DIY installation. Our materials range from self adhesive wallpapers to pre-pasted and non-pasted traditional wallpapers to suit different budgets and renovator expertise!
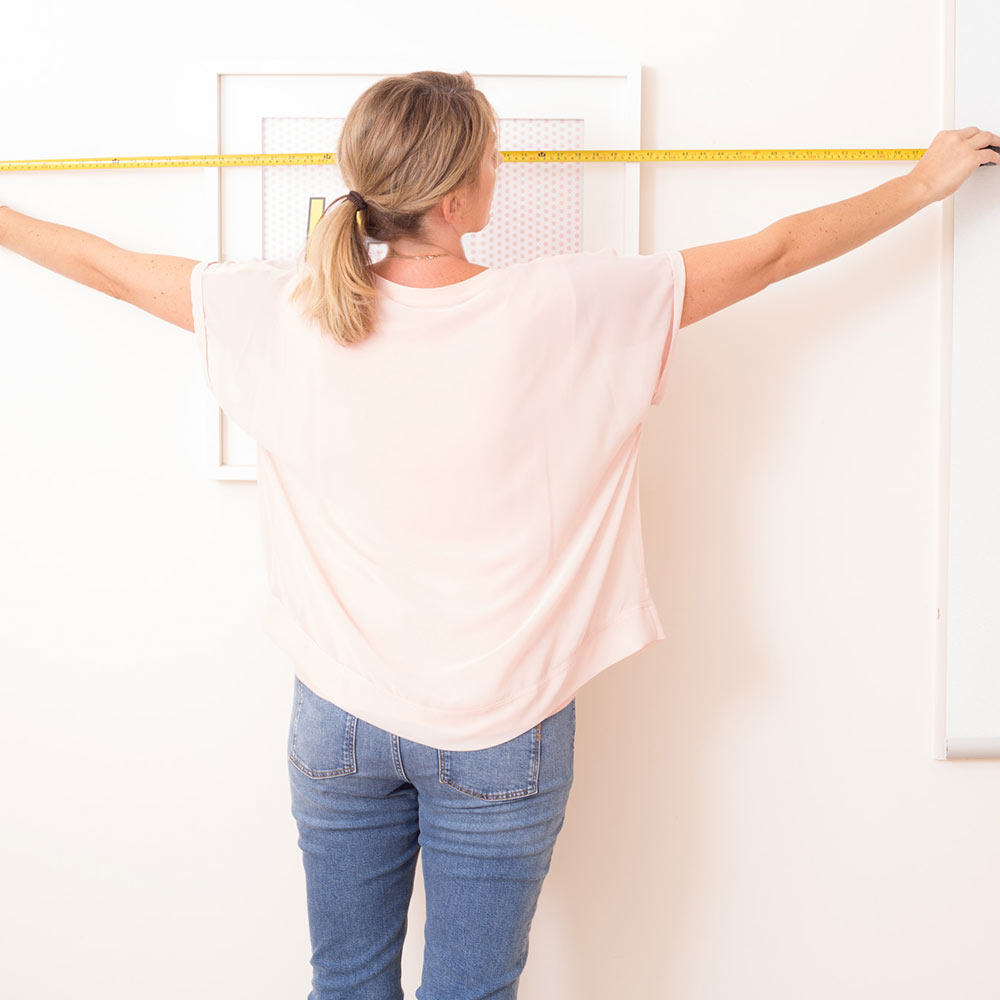
Ultimately, you need to take care when applying any wallpaper to ensure the wallpaper rolls are applied, aligned and matched up at the seams and wall edges. If you would prefer not to install your own wallpaper, we may be able to put you in touch with wallpaper installers in your area (Australian customers only), who will be able to provide you with a quote. Please send us an email with details of your area, and we'll do our best to help.
Self Adhesive Wallpaper
Our Cotton and Linen finish wallpapers are a breeze to install.
Why we love it - Both materials are removable and repositionable. If you don't like how you've installed it, you can take it down and reapply it. Provided your wallpaper was applied to a completely dry wall without any moisture, removal is both hassle free with minimum or no damage to your wall. Which is perfect for renters. Our Cotton Finish material can have seamless butt joins upon request. Our Vinyl material can even be applied to bathroom walls and kitchens.
Things to watch out for - Whilst our Self Adhesive Cotton Finish material can have seamless joins upon request, it is always printed standard with a 1cm overlapping join to make it easier to install. Our Self Adhesive Linen Finish vinyl material always requires a 1cm overlap as this material is made from flexible vinyl which can possibly shrink by up to 0.5%. The overlap ensures no thin gaps appear between your vinyl wallpaper tiles over time due to shrinkage. You must always ensure your wall is completely dry before installation. If you've recently painted, wait at least 2 -3 weeks so the paint can gas out of your wall and all moisture has evaporated. If you have just cleaned your wall, wait at least 2-3 days before installing your wallpaper. Do not apply this material on to coarse, uneven, chalky or dusty surfaces as this will affect the wallpaper's long term adhesion and it may fall down. Although our vinyl material can be applied to bathroom or kitchen walls, it's important that the material is not constantly wet or soaked and not subjected to regular steam and humidity.
See our full DIY installation notes for Self Adhesive Wallpaper here.
Pre-Pasted Wallpaper
Our Satin Finish Traditional wallpaper is a material that comes with a paste already applied to the back of it. You just need to soak the paper in water before you stick it onto your wall.
Why we love it - The advantage of pre-pasted wallpaper is that you don’t have to buy a lot of preparation materials to get started (compared to non-pasted), and you don't need to smear the paste onto your wall before you start, which can get messy. There is also no shrinkage with pre-pasted so you can have seamless butt joins without any overlapps. As pre-pasted adhesives can take time to stick (or bond) completely, you still have some time to get the paper perfectly aligned, even if it’s not on the first go. There is also no shrinkage with pre-pasted so you can have seamless butt joins without any overlapps.
Things to watch out for - Please read the instructions well before applying this particular type of wallpaper. The paste needs to be wet enough to stick, but you don’t want to make the paper soggy. You also have to make sure you don’t over wet the paste because it will lose its adhesion if soaked for too long. Pre-pasted wallpaper can start to peel earlier than other papers so you may need to redo the room within a couple of years. You will need specific tools and some elbow grease to remove pre-pasted wallpaper completely from your wall. Your wall will then require repainting.
See our full DIY installation notes for pre-pasted wallpaper here.
Non-Pasted Wallpaper
Our Stone Finish Traditional Wallpaper does not come with any prepasted glue or adhesive. Glue and preparation materials will need to be purchased before installation can begin.
Why we love it - While it can be messier and require more preparation, a lot of professionals actually prefer wallpaper that isn't prepasted because it lasts longer. The wallpaper glue can take time to stick (or bond) completely, so you still have some time to get the paper perfectly aligned, even if it’s not on the first go. There is also no shrinkage with non-pasted so you can have seamless butt joins without any overlapps.
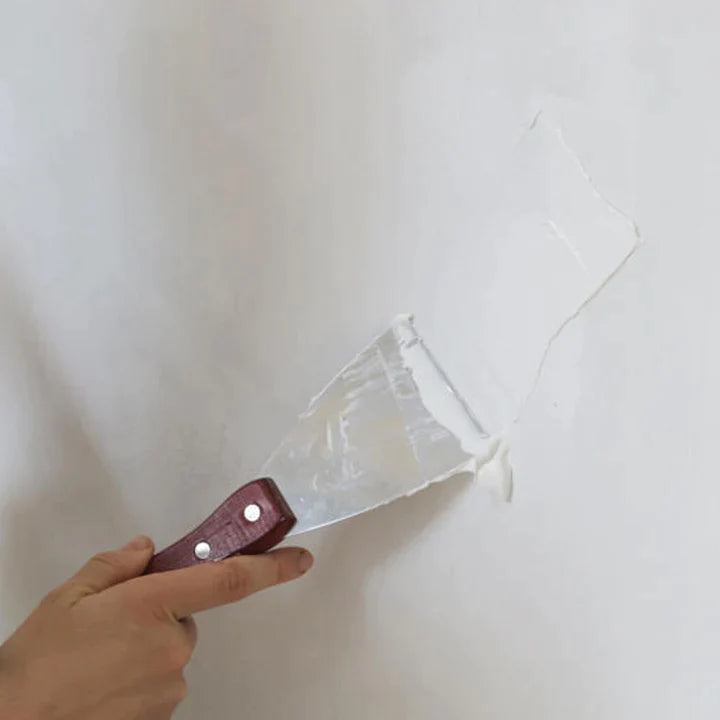
Things to watch out for - Again it's important to read the instructions before hanging your wallpaper as too much paste can ruin it and too little paste means that it will fall down. Removal of non pasted wallpaper is often the hardest. You will need specific tools and some elbow grease to remove non-pasted wallpaper completely from your wall. Your wall will then require repainting.
See our full DIY installation notes for non-pasted wallpaper here.